


How to lay turf
Are you looking to lay your own lawn? Well, you’ve come to the right place! Here you can find our easy-to-follow, step-by-step guide to laying turf and creating your dream lawn. This guide covers all the essential steps from preparing the soil, to laying the turf for the greenest, softest lawn.
This guide is perfect for all grass types, including Nullarbor Couch, Sir Walter DNA Certified buffalo, TifTuf bermuda and Sir Grange zoysia.
To help make the process as simple as possible, we have included a free downloadable PDF summarising the information. Print this information out or save it to your mobile for easy onsite reference.
Are you finding it all a little overwhelming? Perhaps you’ve decided you’re more of the “lay on the lawn’ type than the ‘laying of the lawn‘ type? Don’t stress: you can contact our turf laying team for a free onsite quote. We can help you achieve your required finish with minimal fuss on both domestic homes and commercial properties.
It might be cheaper than you think to get your lawn professionally laid. The turf is heavy and messy. You will also require specific equipment to do the job right.
Instant turf provides that finishing touch to a home, a touch that can increase the value of the home by 5 to 10%. We consider getting your new lawn laid by a professional more an investment then an expense...
<
Before your start you will need
- weed killer
- rotary hoe (hire if needed)
- tape measure
- rake
- fertiliser and spreader
- roller (hire if needed)
- broom
- hose or sprinkler
Before your turf arrives
Step 1
Clear the area
Remove the weeds. Do this either by hand or spray with a glyphosate herbicide (e.g. Roundup), then wait until the weeds die (7 to 10 days), or a natural product like Slasher (this method may take a little longer). A second application may be required. Remove all debris including any small rocks and twigs.
Tip: Laying turf next to existing grass is straightforward, but it’s not advised to lay it over the top of an existing lawn.
The reason for this is that you will most likely end up with the original grass contaminating the new grass variety. If the existing grass you are removing is a couch variety and you are hoping to replace it with a buffalo or zoysia variety, ensure you treat the whole area with a glyphosate herbicide (e.g. Roundup), then wait until the couch grass dies (7 to 10 days), or a natural product like Slasher (this method may take a little longer).
If removing an existing lawn and replacing it with a new variety, consider hiring a turf cutter for large areas as this will make the removal process much faster and easier.
Step 2
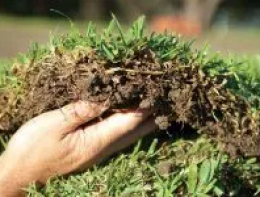
Cultivate the area
Use a rotary hoe (available for hire) to cultivate the whole area. You can also dig it over thoroughly with a garden fork to a depth of about 150mm.
Remove any rocks, stones or sticks that come to the surface as you cultivate. If you have tough clay soil applying soil improvers at this stage will help loosen it.
Tip If you have heavy clay soil that is prone to compaction, this is a great time to do a PH test (these are available at most Bunning's stores).
If your soil is high in PH apply a quality Gypsum and if your PH is low apply a good quality lime. These will both help may your ground healthier and easier to manage for the life of your lawn.
If you have sandy soil, whilst great for drainage, this soil type struggles to retain nutrients, so applying a good quality underlay soil is especially important for you.
Step 3
Incorporate the underlay
Incorporate your chosen turf underlay soil, spreading to a depth of at least 100mm, depending on your site soil. For a depth of 100mm you will need to order 2m³ of underlay for every 20m² of turf area.
Level off the imported soil with a rake to ensure the surface has the correct gradient and is level. Please ensure the finished surface is left firm. Don’t forget: To comply with building regulations, finished turf must sit 75mm below weep holes.
Tip: A sandy loam/organic mix as well is recommended for under turf. If organic compost such as manure is used, ensure it is well composted.
Please note that we always recommend installing Sir Grange Zoysia on at least 100 – 200mm of a high quality sandy loam mixture with a high percentage of organic matter.
Step 4
Order the turf
Measure up the space, marking the dimensions on a sketch of the area.
If you are uncertain as to the amount of turf you will need, you can contact our team for assistance. We will work out the quantity required and advise you of the most suitable turf variety for your specific area.
For more detailed information see our
turf calculator and
measuring your area guides.
Still not 100% sure which turf to choose, take our lawn quiz.
Laying your turf
Our Top Turf Laying Hacks
Turf grass is a living product, it is vital to install your new lawn as soon as possible after delivery.

Step 1
Apply lawn starter
Prior to installation of your turf, apply a pre-plant lawn fertiliser at the recommended rate. Using a fertiliser spreader will ensure even distribution before laying turf.
Tip: Using a lawn starter fertiliser will ensure your lawn has sufficient nutrients through the establishment period.
Step 2
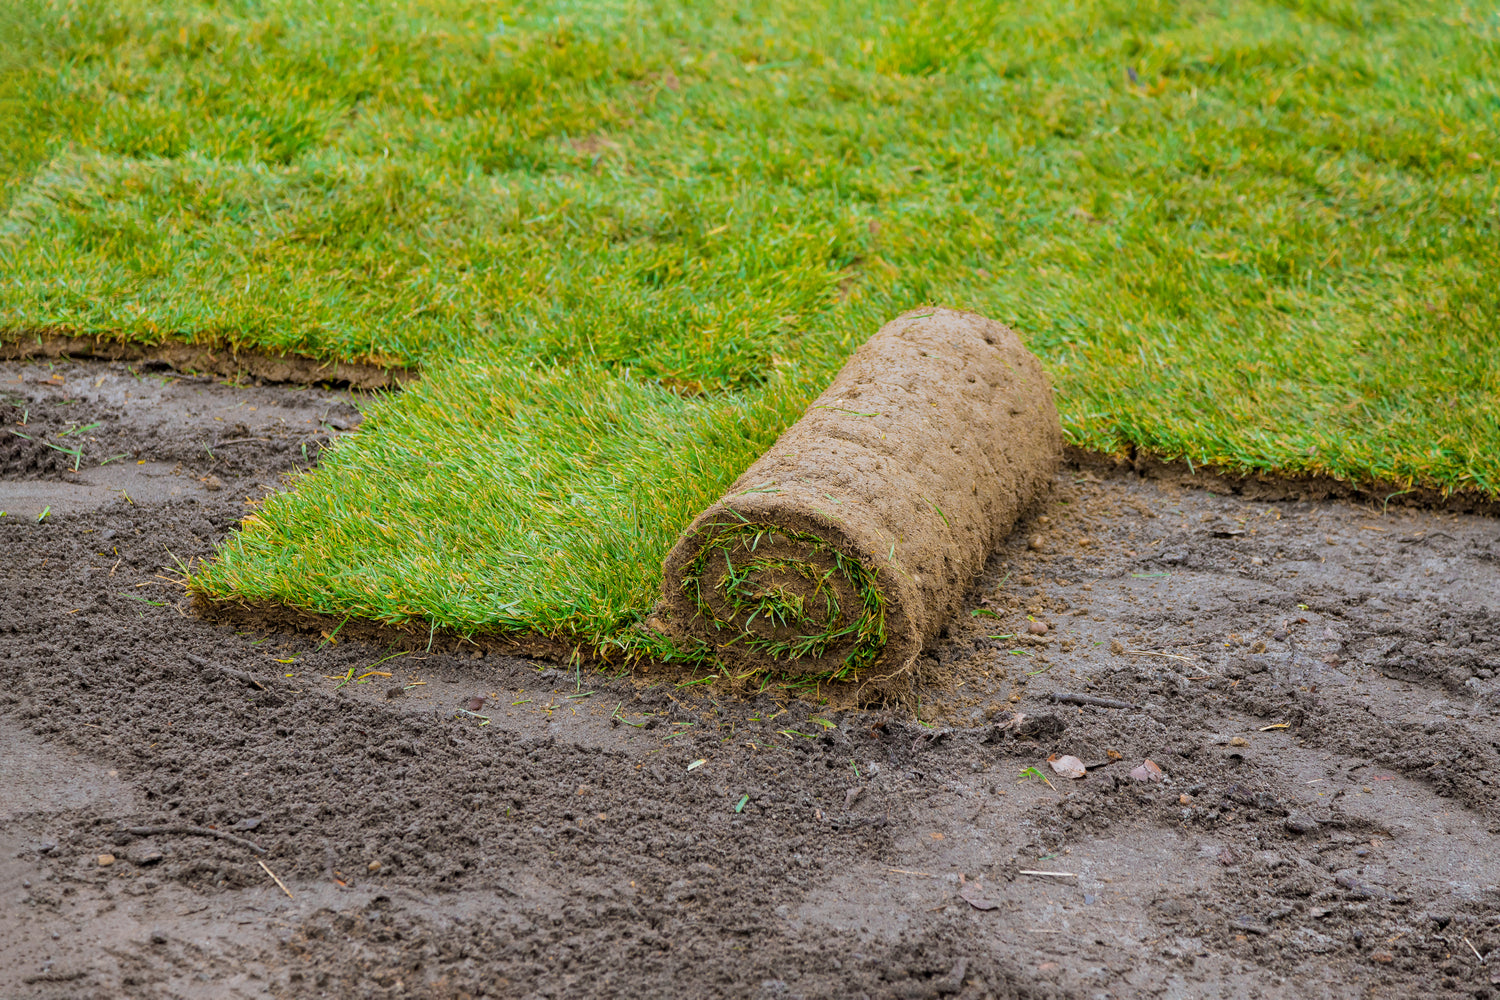
Laying new turf
Quality turf is cut fresh at the turf farm and delivered within 24 hours. No matter what the turf type, laying the turf the day you receive it is essential to avoid any drying out and overheating.
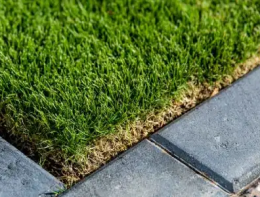
Tip: When starting your lawn installation, always begin from a straight edge such as driveway or paving. Lay the turf in a brick pattern, ensuring the edges fit snugly together for a level lawn. Ensure you lay the turf slabs hard up against the last piece to avoid air pockets. When working on a lawn area that is on a slope, lay the turf slabs across the slope.
Step 3
Trim turf to fit
Cut the slabs of turf to fit around obstacles such as trees, garden beds and edging. To cut the turf, use a sharp spade, sharp knife or garden shears.
Tip: Save the trimmed off pieces to use to fill little gaps later on.
Step 4
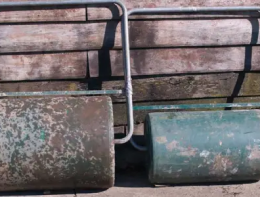
Roll it down
Use a water-filled lawn roller to roll the turf to connect the roots well into the underlay. These can be hired from your local hire equipment store.
Tip: Without this essential step, the roots may dry out and the turf will struggle to establish. This step will help your turf to take root faster, and keep its colour during establishment.
Step 5
Water in well
Water your lawn grass really well, thoroughly soaking each square metre of the newly installed turf. For the best lawn care, the soil must be kept moist until the roots of the turf have established – usually around 10 to 14 days. The time of year will determine how much water is required, in warmer months more water will need to be applied. To get more detailed information on watering please see our watering guide.
Tip: To check if the roots of your lawn have been established, try to lift a corner of the turf. If it holds well it’s established, if it comes away in your hand it needs more time.
Small order click and collect
Just doing a small job and want to collect your order? We have a Click and Collect service at our Allenview farm (by appointment only). This service would best suit small orders under 21m². With a range of opening hours, we make it easy to click and collect your turf of choice.
Our sales office, located at 228 Brookland Road, Allenview Qld is open for visitors:


